How to take Screen Shot from PhotoScape
In the previous article, we learned AdF.ly Review 2016 : The Best Way To Make Money By Shortening Links .
Now, the next step is How to take Screen Shot from PhotoScape
so many times we need to take picture from any blog or website. But we have no idea how to take screen shot of any website
When i was entered into blogging field i was take picture from my Nokia Xpress Music 5130, but picture will be not perfect like others website.
Then i asked to one of my blogger friend that how to take pic of any website? he said it’s called screen shot not pic :-D and he suggest me
some of cool apps/software then i started downloading all suggested website software’s and use them, but no one perfect on them. then I searched on
Google result was same. then one day i was downloading MediaFire.com official file uploading website. in that app there is a take screen shot option, that was my
one of the favorite screen take software. But now i use only PhotoScape for taking screen shot of any website. and I’ll suggest you to all its one of the best multimedia software
for taking screen shot of any pic. PhotoScape also provide some cool features for images editing.
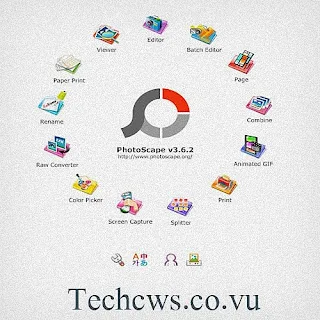
Here are some cool features of PhotoScape
- Editor
- Batch Editor
- Page
- Combine
- Animated GIF (You can create a animated pic from this feature)
- print Solution
- Splitter
- Screen Capture ( From this feature you can take screen shot of any website)
- Color Picker
- Raw Images Converter (You can convert your DSLR pic to JPEG pic)
- Rename any pic (You can change name of any picture)
- Paper Print (You can print A4 size Paper type print)
- image Viewer (this feature helps you to viewer images which saved/store on your computer)
see the steps which is given below how to take screen shot from PhotoScape
Step-1
Download PhotoScape from given Link if you have already download PhotoScape please leave this step.
Step-2
Open PhotoScape (its look like this picture number -2)
Step-3
Now click on Screen capture. After click you can see a small (Screen Capture) window their will be 3 option
1. Capture Full screen - its mean when you click this one your computer whole screen will be captured by Photoscap
2. Capture Window -from this you can Capture any window from your computer
3. Capture Region- from this you can capture particular thing which you want. like footer, quick lunch bar etc etc.
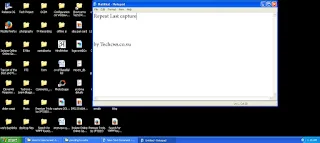
4. Repeat Last capture- its like a undo, its helps you to which you capture last one.
1. Capture Full screen (Screen Shot is Given Below)
2. Capture Window (Screen Shot is Given Below)
3. Capture Region (Screen Shot is Given Below)
4. Repeat Last capture (Screen Shot is Given Below)


0 Comments